The day starts off with a short debriefing. We are warned of the massive-but-noiseless cows that may suddenly appear and are easily startled. After some questionnaires we are split up into our groups for the next two weeks. We rotate to discover the six essential steps of the archaeological process. At the end of this diary, you will find these steps summed up nicely in ‘How to do Archaeology’!

A sole monument in the backyard of the Château d’Hougoumont, dedicated to the French soldiers. In the background: La Butte de Lion

The team is all geared up and ready to go!

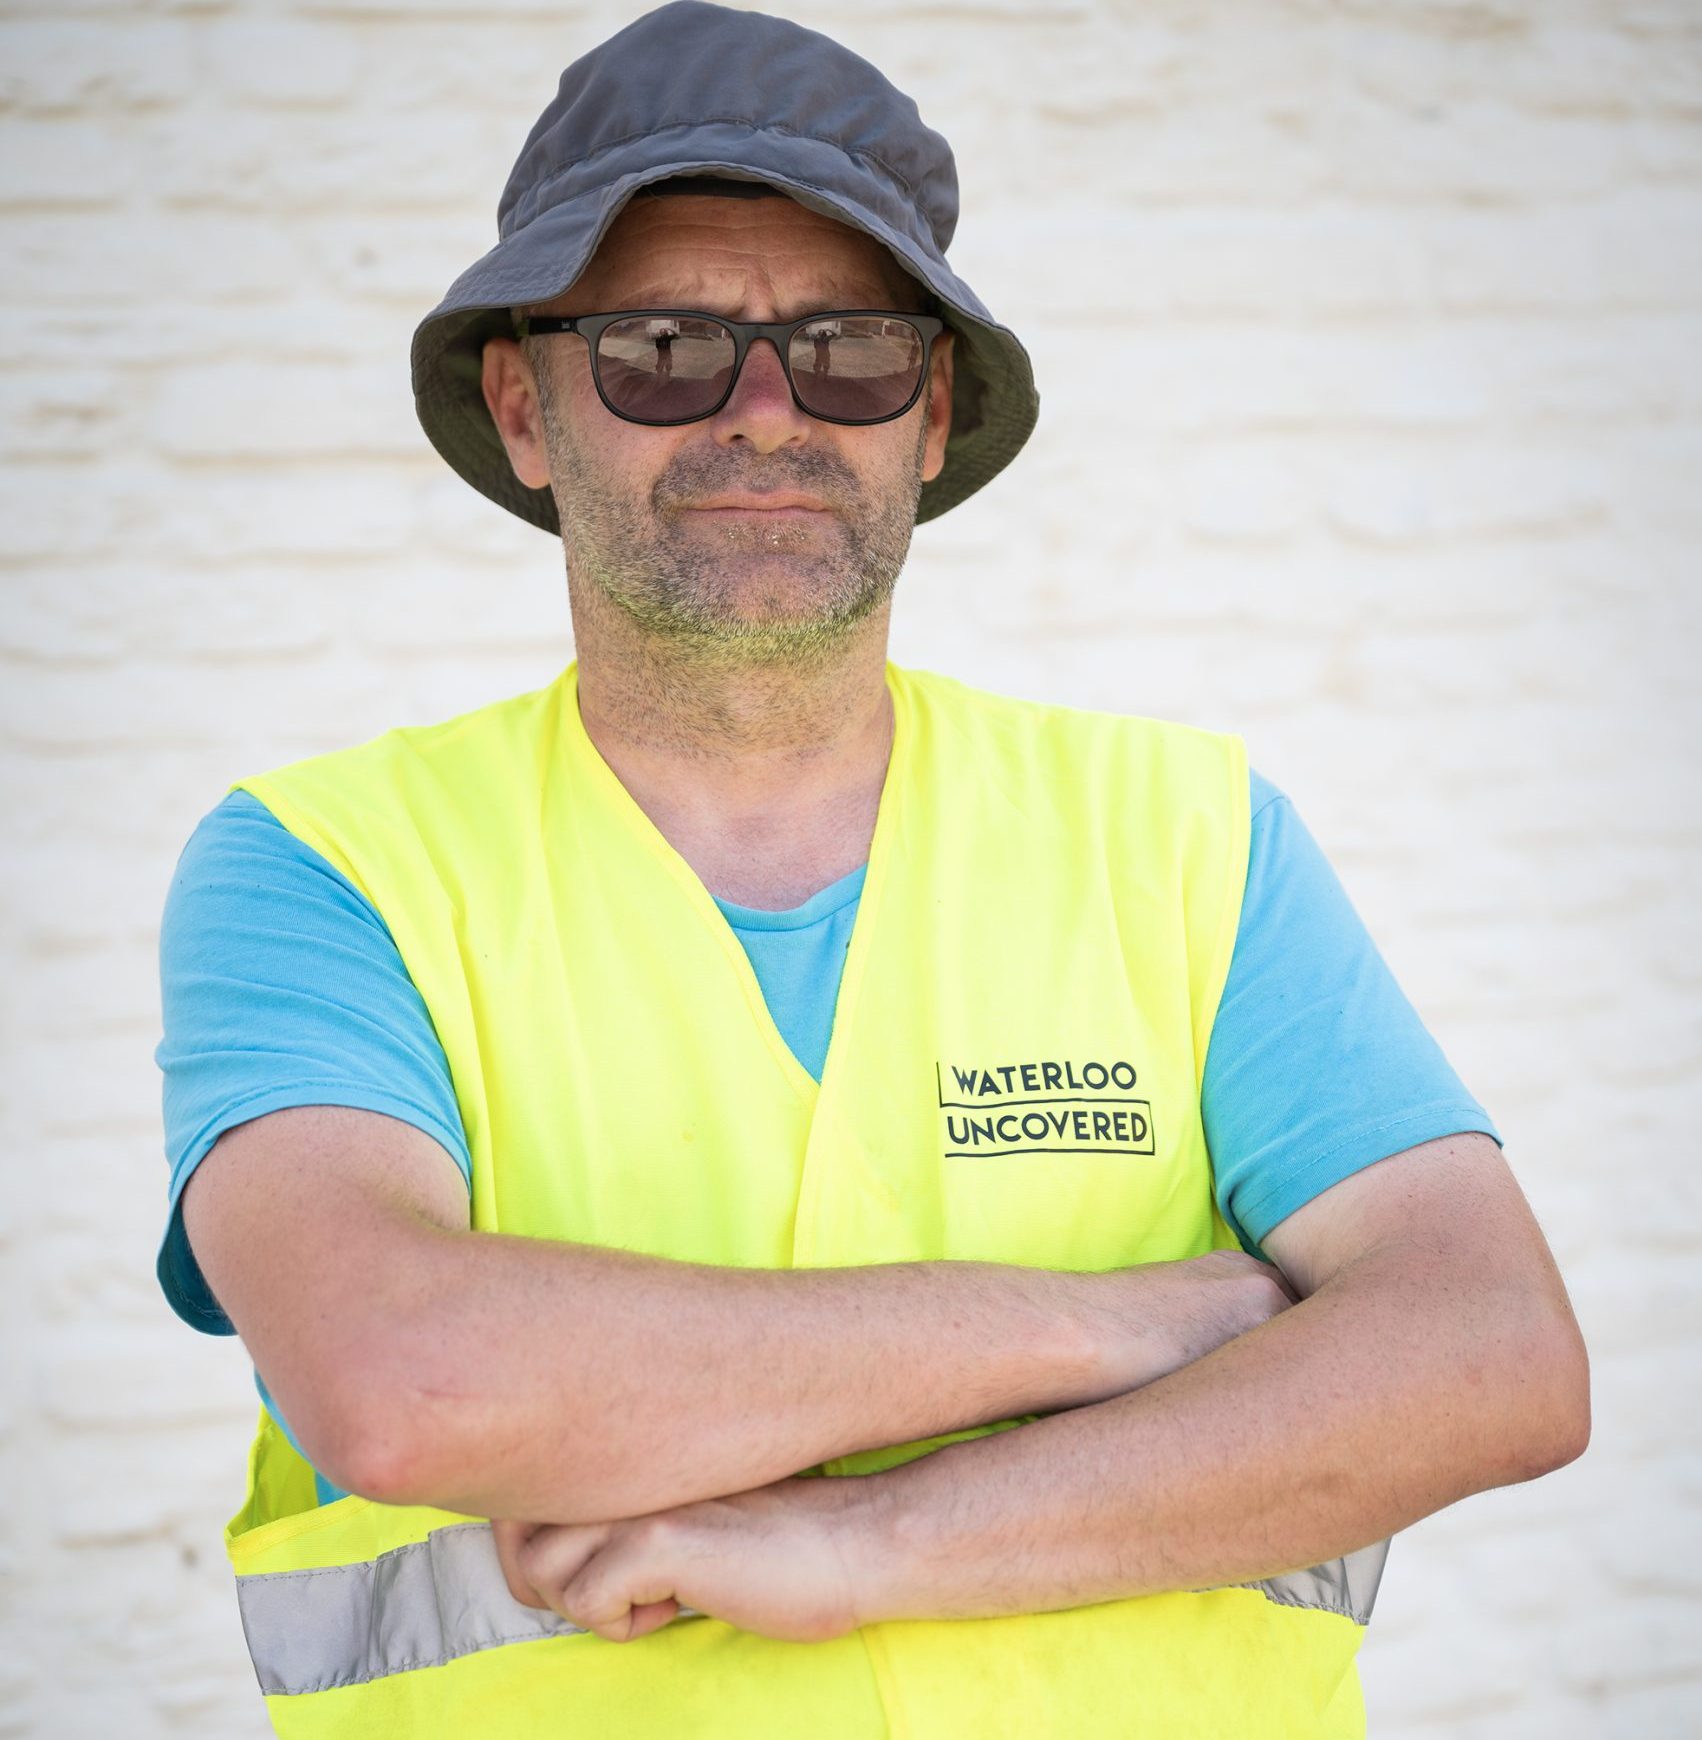
Communications officer Mike Greenwood looks pleased after making his first bad pun of the day
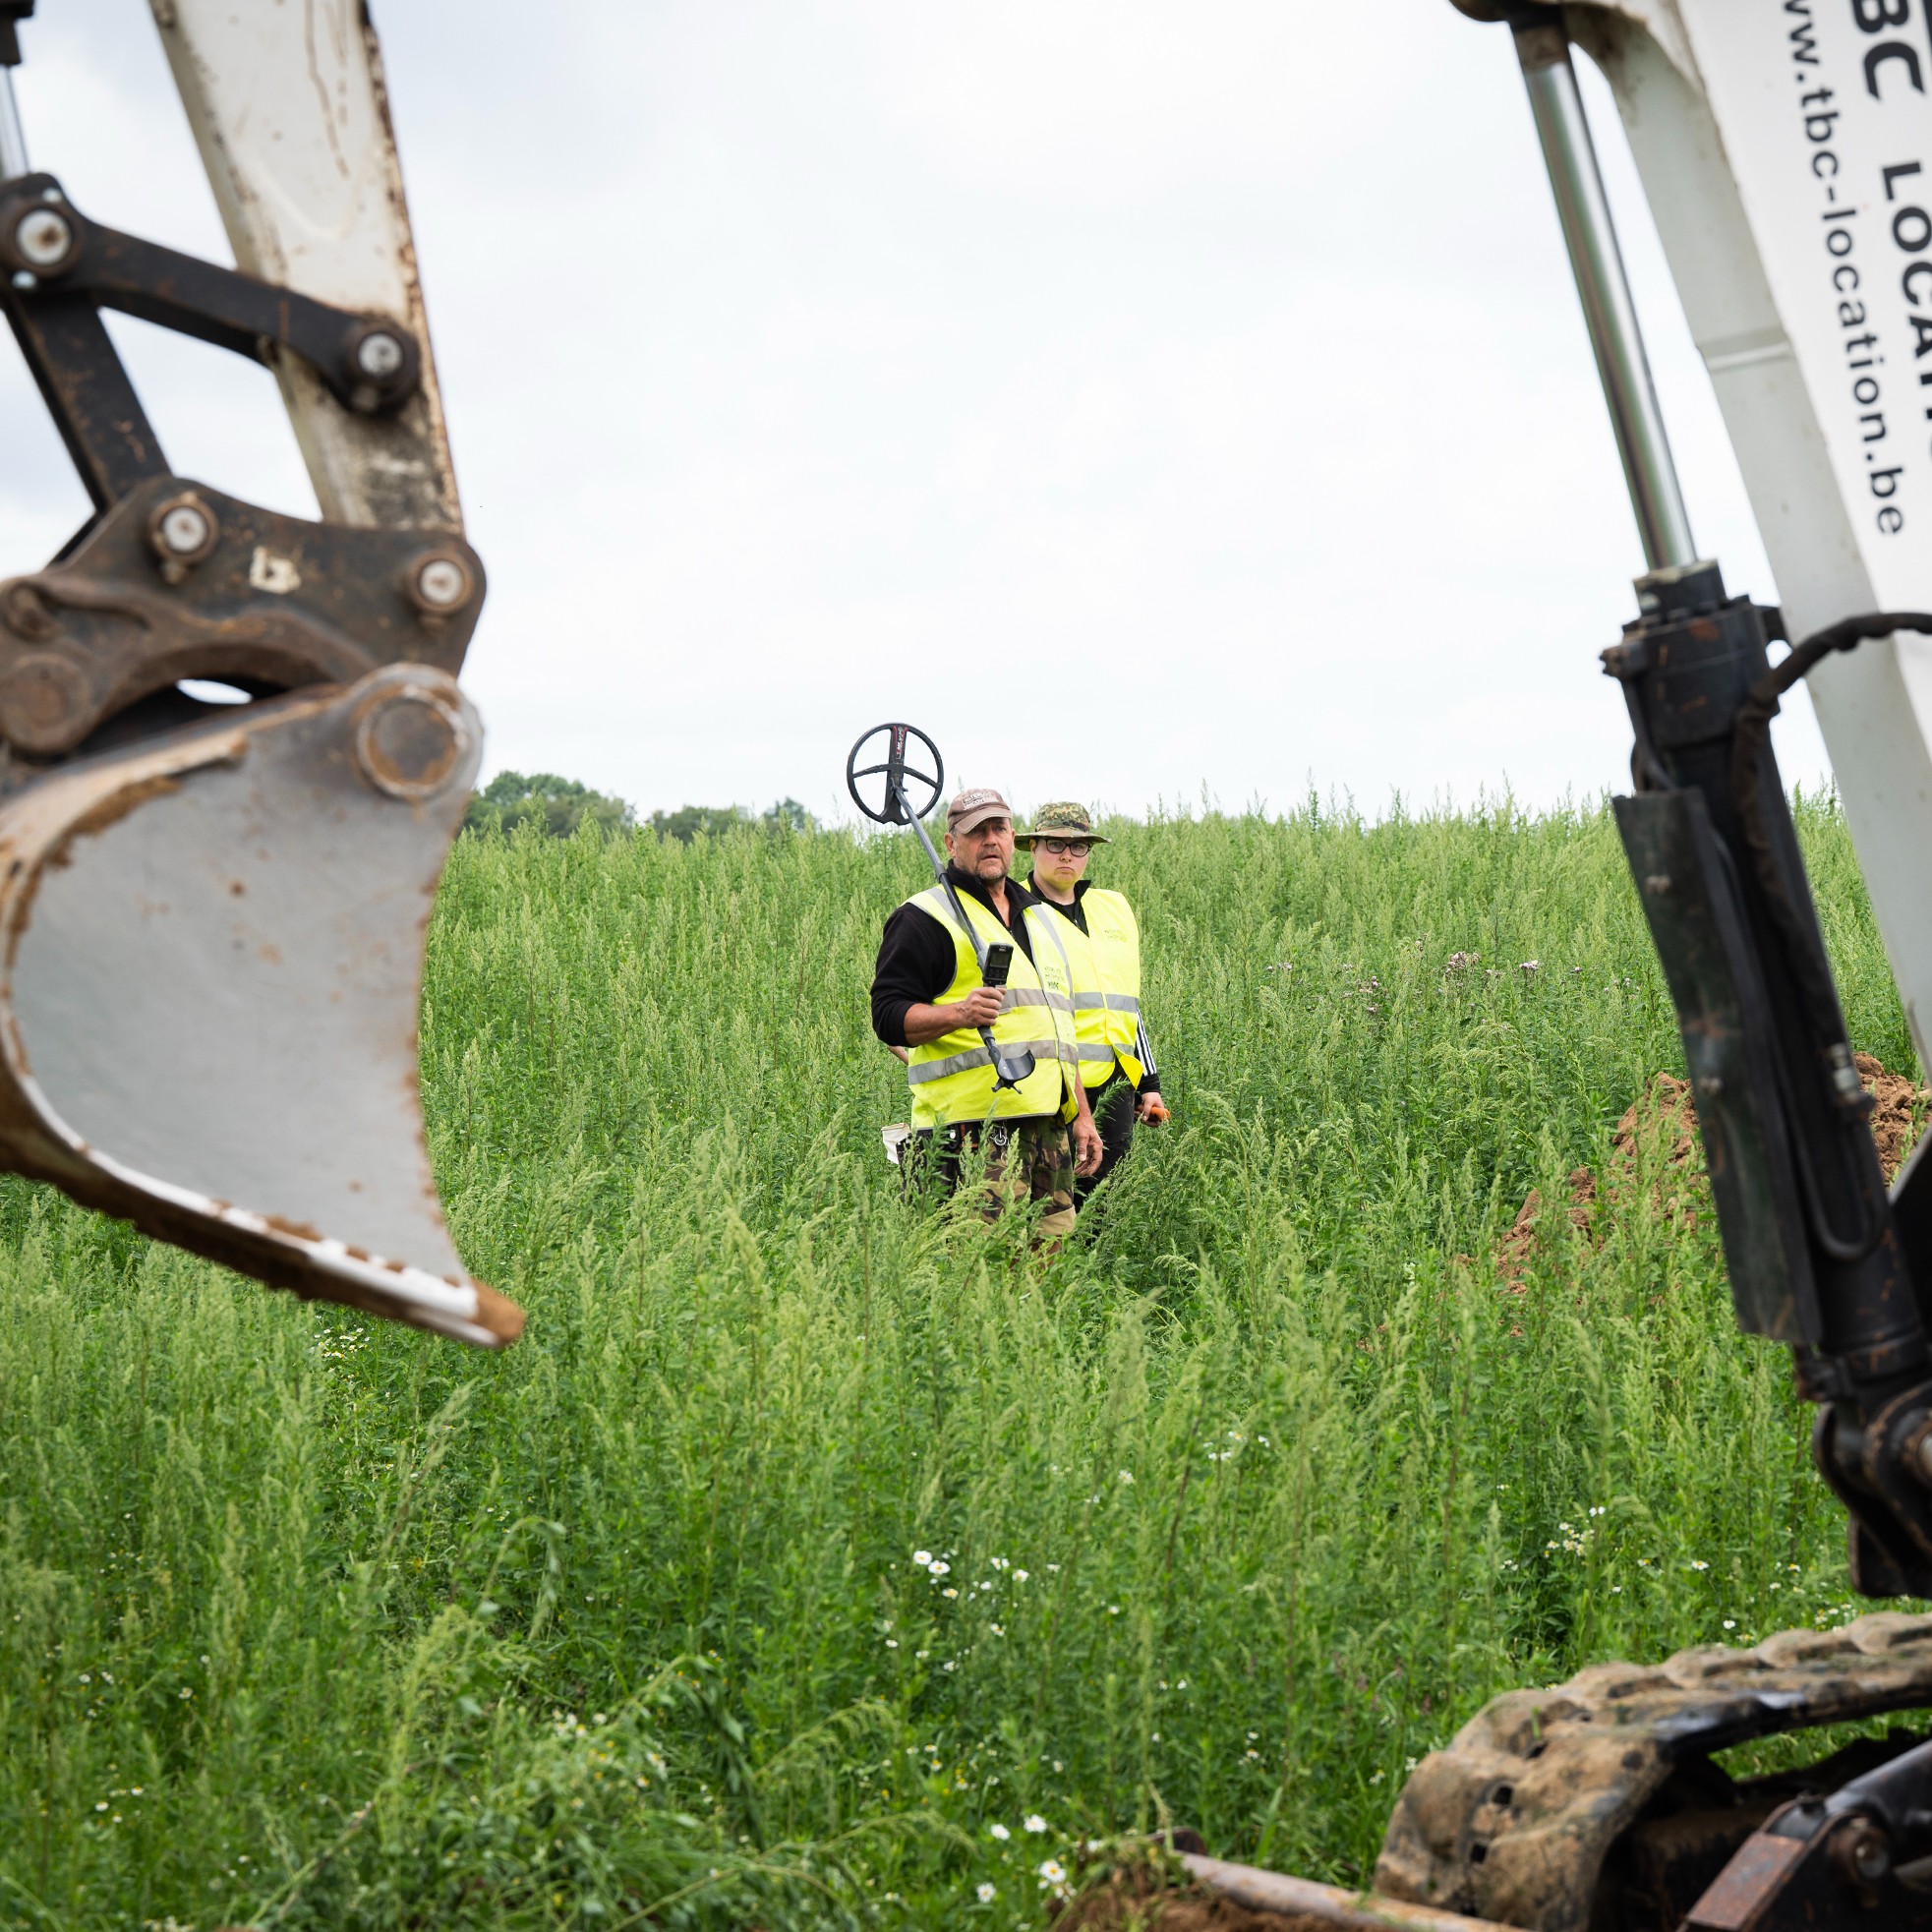
After learning more about the archaeological process, we get to feel like archaeologists. The big digger is brought in and new ditches are made in the infamous killing field, as well as in the area where the pond was believed to be. The latter will provide a brand new digging site that, due to the boggy nature of the ground, just might yield some interesting results, as the water preserves the objects better.
How to do archaeology in 6 easy(ish) steps
Breaking new ground: how do you get such a diverse and mostly inexperienced team to deliver the best results possible? For the uninitiated, interested and eager, Day One began with a crash course into archaeology:

Alistair Douglas demonstrates how Pythagoras’s 3-4-5 formula can help with manually creating a perfect square
Step 1 Pythagoras with a trowel
Archaeology is all about context, so having exact and accurate measurements of the location of each excavation and every find within it is essential. We were given a geometry lesson in the laying out of a grid: getting the perfect right-angled squares and measurements mapped with military precision is an important first step (and one which appealed to some military-minded members of the team).

Jonathan Buttery demonstrates how to manually measure the geophysical layout of a site (with a bit of help from the GPS)
Step 2 Mapping out your site of interest
Laying out grids cross-referenced by GPS positioning gives us a 2D picture of where we’re digging. To get a 3D picture we need to measure levels above sea level. This is where the interestingly-named ‘Dumpy Level’ comes in. Measurements are taken and compared with the known height of a feature. So far, fixing our dig in space has been done: we now just need to fix it in time.

Sam Wilson tells us how you should and should not treat your trenches
Step 3 The life cycle of your trench
You’d think that this where the experience of some of the military veterans might converge with that of the archaeologists. But there’s more to a trench than just digging holes. Where to site it, how deep to dig it or in which direction to extend it, how to ‘read’ its story, how to manage the physical environment of the trench and then record it minutely -these are all key decisions in the overall plan of the excavation, and it’s the job of the trench supervisors to ‘run’ that bit of the dig. If you dig too deeply, the trench might collapse on you – if you are not careful enough, you will lose your finds!

Field archaeologist Phil Harding teaches one of our teams how to categorise archaeological finds, and how the position of a find can help you reconstruct its story
Step 4 Sifting the layers
Understanding how objects are deposited in the soil and the significance of their relative position in the trench is what can turn a single artefact into part of a bigger story. Recording depth in relation to other layers is crucial – deeper usually means older. This is not always the case: think of explosions (in war), which can mess up the order of the layers with quite some impact. Knowing the depth at which an object is found can help us tie it to an era or even -as here at Hougoumont – to a specific event.

Eva Collignon explains to us how important it is to preserve your archaeological finds through pictures
Step 5 Archaeological photography
Using photography is another means of identifying the progress of an excavation. Digging down through layers, however carefully done, means that we destroy them as we go ever-deeper. Photography means that we can preserve that context by keeping a visual record of the layers as we dig.

Emily Glass gives us a practical example of what an archaeological drawing might look like
Step 6 Archaeological drawing
They say that every picture tells a story, but nothing tells that story with more painstaking accuracy than hand-made scale drawings of features as they emerge in a trench. Drawings are made ‘in plan’, giving a bird’s eye view from above, and in ‘cross-section’, a side-on view of features as we dig through them.
In conclusion, it’s all about context of the finds – which is based on accurate recording, measurement and interpretation.
Coming up soon: more on the art of finds handling, as Hougoumont starts to give up its secrets.

The 2018 Waterloo Uncovered team


